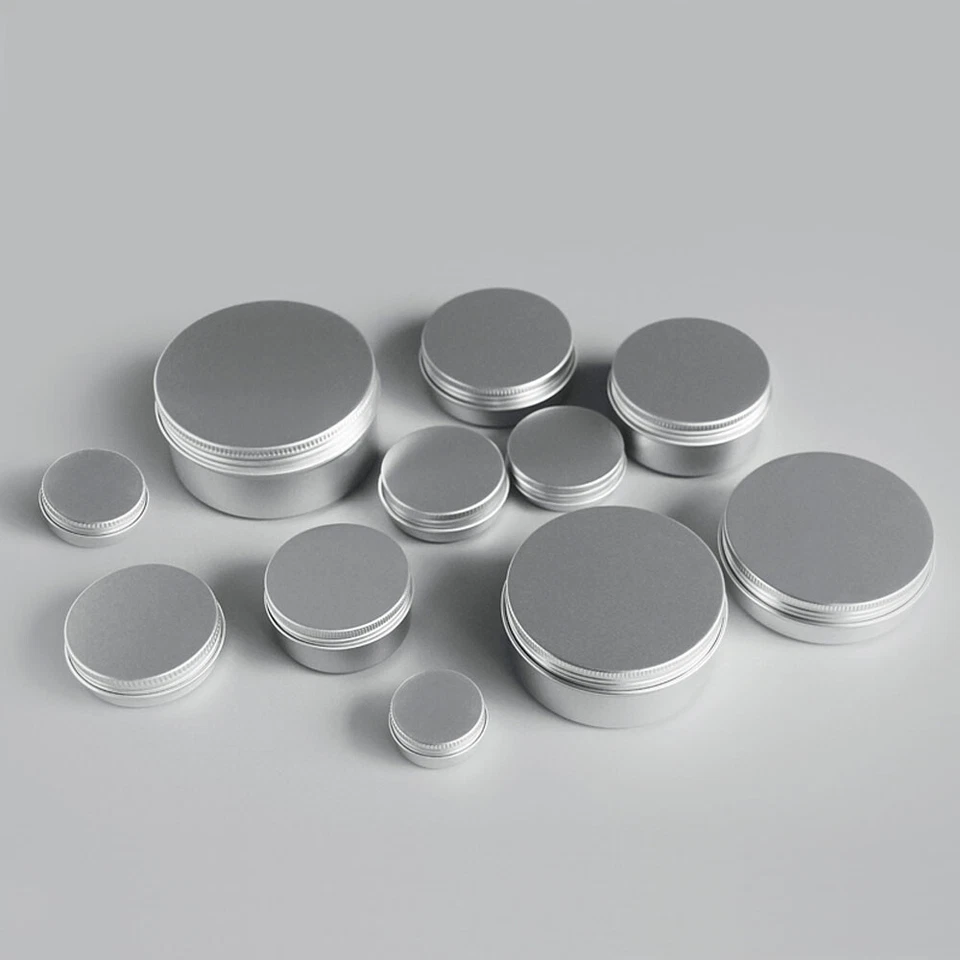
Aluminum vs Tinplate vs Plastic Jars for Cosmetic Packaging
Choose aluminum for barrier and premium feel, tinplate for lower cost rigidity, and plastic for clarity and low weight. The deciding tests are product compatibility, seal integrity and print durability on your actual fill, not the material name. Request filled samples of each substrate and run them for eight weeks before committing to any tooling.
What actually separates aluminum, tinplate and plastic jars?
An aluminum jar is a seamless metal container drawn or impact-extruded from a single aluminum slug, then coated or anodised inside and printed outside. A tinplate jar is formed from electrolytically coated steel sheet, usually with a welded or locked side seam, and is heavier per unit of volume than aluminum. A plastic jar is injection-moulded or blow-moulded from PP, PET, acrylic or SAN, and its wall can be transparent, translucent or opaque.
Those three manufacturing routes create three different sets of failure modes. Work through the checklist below in order; each step is something to do, look at or ask for, and each one can eliminate a substrate before you spend money on tooling.
Step 1: Write down the fill's chemistry before you look at any jar
List every ingredient that can attack a surface: essential oils (especially citrus and clove), fragrance at high load, alcohol, glycolic or salicylic acid, urea, salt, and anything with a pH below 4 or above 8. Then note the water content and whether the formula is anhydrous.
This matters because metal jars are only as good as their internal coating, and plastic jars are only as good as their resin. A salve tin holding anhydrous balm is a very different proposition from the same tin holding a water-based gel.
Bad result looks like: a supplier says "food grade, no problem" without asking for your formula. Ask instead for the coating datasheet and the list of chemistries it is not recommended for.
Step 2: Decide whether the customer must see the product
If clarity is a brand requirement — a gel, a scrub with visible particles, a two-phase product — plastic is the only one of the three that delivers it, and the decision is effectively made. If opacity is acceptable, metal gives you a higher barrier and a heavier, cooler hand-feel that reads as premium in cosmetic tin packaging.
Be honest about the trade-off: an opaque metal tin container hides colour drift and separation that a clear PET jar would expose. Some brands want that; some need to see it in QC.
Step 3: Match jar capacity to fill weight, not to the label
Take your fill weight in grams, divide by the product's specific gravity, and add headspace. A 50g balm at 0.9 g/ml needs roughly 56ml of product volume, plus 5–10% headspace, so a 60ml jar is the realistic starting point, not a 50ml one.
For metal, the internal volume of a small aluminum container is affected by the internal coating thickness and by the radius at the base, so the nominal size and the usable fill differ. Ask for the brim-full and fill-to-shoulder capacities in millilitres, in writing.
Bad result looks like: product touching the lid on arrival, or a jar that looks half empty on shelf. Both are capacity errors, not filling-line errors.
Step 4: Check the closure, because that is where jars leak
For metal, you are choosing between a slip lid, a screw lid and a threaded metal screw lid for jars with a gasket. For plastic, you are choosing thread pitch, gasket material and whether the lid is lined or plug-sealed.
Ask three specific questions: what is the lid's removal torque specification, what gasket material is fitted (EVA, PE foam, silicone, none), and what vacuum or leak test does the factory run on the finished jar. A cosmetic jar with a metal screw lid and a foam gasket will pass a leak test that the same jar with an unlined lid fails.
Bad result looks like: a lid that spins freely after one week in a warm warehouse, or a gasket that has taken a permanent compression set and no longer seals.
Step 5: Order filled samples of all three substrates and run a real stability test
Do not test empty jars. Fill at least 12 units of each substrate with your actual formula, using your actual filling temperature, and store them as follows:
- 4 units at 40°C for 8 weeks (accelerated)
- 4 units at ambient with a weekly 25–40°C cycle
- 4 units upside down, to test the closure under product contact
Inspect at weeks 1, 2, 4 and 8. Look at the inner coating for blistering, discolouration or softening; at the gasket for swelling or cracking; at the product for odour pick-up and colour shift; and at the outer print for blistering near the rim.
Bad result looks like: a faint ring of corrosion at the coating edge inside the rim at week 2. That edge is where coating coverage is thinnest and where filling lines scratch.
Step 6: Compare print durability on the actual substrate
Print behaves differently on each material. On an aluminum tin, ink sits on a base coat that must be cured; on tinplate, the base coat is applied to steel and adhesion depends on the sheet coating; on plastic, you are usually printing on a label or using pad print with a flame or plasma pre-treatment.
Ask for a sample that has been through the same cure as production, then run a rub test with the solvent your customer will actually meet — 70% alcohol, hand cream, or acetone if the product contains it. Also tape-test the print and inspect the rim and the base radius, where ink coverage is hardest to hold.
Bad result looks like: print that survives a dry rub but lifts with a thumb dipped in hand sanitiser. That is a cure or pre-treatment problem, and it will appear on unit 50,000 as reliably as on unit 500.
Step 7: Weigh the shipping and handling consequences
Metal jars are heavier, and that weight is paid for twice — in freight and in the customer's hand. Plastic wins on both. But metal resists drop and stack compression in a way that thin-wall PET does not, and a dented metal jar is a visible defect while a scuffed plastic jar often is not.
Ask your fulfilment team which matters more: parcel weight on e-commerce orders, or damage in a retail display stack. The answer is different for a 15ml lip balm tin than for a 200ml body scrub jar.
Step 8: Ask who owns the tooling and what changes after it is cut
Plastic jars usually need a mould; metal jars usually need a die for the body and a tool for the lid, plus print screens or plates. Ask for the tooling cost broken out, who holds title to the tool, and whether it can be moved.
Then ask the question most buyers forget: once the tool is cut, what can still change? On a drawn aluminum tin, the diameter and height are fixed, but the internal coating, the print and the lid gasket can usually be changed. The wall thickness and the base radius cannot, without a new tool.
Bad result looks like: a verbal promise that the jar can be made 2mm taller later. It cannot, and discovering that after the artwork is approved costs a season.
Step 9: Confirm the factory's own incoming and outgoing checks
Ask to see the inspection plan, not a certificate. A useful plan for cosmetic tin packaging names the check, the instrument and the frequency: coating thickness in microns by eddy-current gauge, lid fit by torque or pull-off force, print colour by spectrophotometer against a master, leak by vacuum decay.
If the plan says "visual check" for coating thickness on a salve tin, the coating is not being controlled, and the week-2 corrosion you saw in Step 5 will be a batch-to-batch lottery.
Quick comparison
| Factor | Aluminum | Tinplate | Plastic (PP/PET) |
|---|---|---|---|
| Construction | Seamless, drawn or impact-extruded | Formed sheet, seam present | Moulded, seamless |
| Clarity | None | None | Clear to opaque |
| Barrier to fragrance and oxygen | High, dependent on coating | High, dependent on coating | Low to moderate |
| Weight per unit volume | Moderate | Highest | Lowest |
| Main failure mode | Coating edge corrosion | Seam and coating damage | Permeation, panelling, stress cracking |
| Tooling type | Draw dies plus print screens | Forming tools plus print plates | Injection mould |
What should you ask before you send the RFQ?
Send the formula, the fill weight, the target shelf life, the market's regulatory requirements, and the print artwork in one package. Ask each supplier for filled samples, the coating datasheet, the inspection plan and the tooling ownership terms. Compare the answers side by side rather than the quotes.
If you have a drawing or a fill weight and want to see how it sits in a small aluminum container or a metal screw lid for jars, send it over and we will come back with a sample.
Frequently asked questions
Is an aluminum jar better than a plastic jar for a face cream?
It depends on the formula. Anhydrous and oil-based creams generally do well in a coated aluminum jar, which gives a strong barrier and a premium feel. Water-based creams with acids or high fragrance loads need a coating compatibility check first, and a clear PET or PP jar may be the safer route if the customer needs to see the product.
Why do tinplate jars cost less than aluminum jars?
Tinplate is formed from coated steel sheet, which is a faster and often cheaper route than drawing a seamless aluminum body, and the metal itself is less expensive per tonne. The trade-off is weight and the presence of a seam, which is a second place where coating can fail. Confirm the seam coating with your supplier.
Do I need a lining inside an aluminum cosmetic tin?
Most cosmetic fills do, because the aluminum surface is not inert to acids, salts and some fragrance components. The lining is a thin lacquer applied after forming, and its coverage at the rim edge is the critical point. Ask for the coating datasheet and test filled samples rather than relying on a general food-grade claim.
How long does a stability test need to run before I commit to tooling?
Eight weeks at 40°C is a common accelerated window, with inspection at weeks 1, 2, 4 and 8, but the right duration depends on your claimed shelf life and the market's rules. Ask your supplier what test protocol they recommend and confirm it in writing before samples are made.
Can I change the print after the jar tooling is cut?
Usually yes. On metal jars the print comes from screens or plates that are separate from the forming die, and on plastic jars the print is applied after moulding. What you generally cannot change without new tooling is the jar's diameter, height, wall thickness or base radius.