Aluminum Caps: Avoid These Costly Custom Cosmetic Mistakes
The costliest mistakes with custom aluminum caps are specifying the wrong liner, ignoring neck finish tolerances, approving a sample that doesn't match production, skipping salt-spray testing, and assuming tooling is yours. Each is discovered only after you've paid for tooling or received a reject batch. Specify liner material, neck finish, and test criteria in writing before you order.
What Are the Most Common Mistakes with Custom Aluminum Caps?
Custom aluminum caps for glass and plastic bottles are a staple in cosmetic packaging, but they come with pitfalls. The most frequent mistakes buyers make are: specifying the wrong liner, ignoring neck finish tolerances, approving a sample that doesn't match production, skipping corrosion testing, and assuming tooling is yours. Each of these can lead to delays, extra costs, or a failed product launch. Here’s how to avoid them.
Mistake #1: Choosing the Wrong Liner (or No Liner at All)
The liner is the material inside the cap that creates a seal against the bottle's rim. It’s the difference between a leak-proof product and a mess on your customer’s shelf. Many buyers either forget to specify a liner or choose one based on habit, not on the actual product.
For cosmetic liquids like serums or lotions, a foam liner (often polyethylene or polyurethane) provides a good seal and is cost-effective for single-use. For thicker creams or products that need a tamper-evident seal, an induction liner (aluminum foil bonded to a pulp board) is common—but it requires a specific cap design and a filling line that can apply induction sealing. A pulp liner is cheaper but less effective for liquids; it’s fine for powders or solids.
Specify the liner material and thickness in millimeters (e.g., 1.5mm PE foam). Also, ensure the liner is compatible with your product—some chemicals can degrade certain foams. Test your product with the cap in a stability chamber before placing a large order.
Mistake #2: Ignoring Neck Finish Tolerances
Your cap must fit the bottle’s neck finish—the thread or snap configuration. If you’re using a stock bottle, you need to match its neck finish, such as 18-410 or 20-410. If you’re customizing the bottle, the cap and bottle must be designed together.
Many buyers think a cap is a cap, but threads have tolerances. A cap that fits a sample bottle might not fit the production run if the bottle’s neck finish is slightly off. This is why you need a GA (General Arrangement) drawing from your supplier that shows the cap’s internal dimensions and thread profile. Share this with your bottle supplier to ensure compatibility.
Ask for a fit test: send your bottle samples to the cap manufacturer and have them test the cap on your actual bottles, not just on their own. This should be done before tooling is cut.
Mistake #3: Approving a Sample That Doesn’t Match Production
You receive a shiny, perfect cap sample, approve it, and then the production run arrives with visible scratches, inconsistent color, or a loose fit. This happens because the sample was made by hand or with temporary tooling, not with the final production tooling.
Always request a pre-production sample (PPS) that is made from the actual production mold and process. This sample should be taken from the first run of the production tooling, not a hand-made prototype. Inspect it thoroughly: check critical dimensions with a caliper (inside diameter, thread pitch, cap height), check the finish (anodized or painted) for color consistency and surface defects, and test the fit on your bottle.
Also, ask for a sample retention—keep a signed-off sample from the PPS as your quality benchmark. When the batch arrives, compare a few units against that sample. If they differ, you have grounds for rejection.
Mistake #4: Skipping Corrosion Testing on Anodized or Painted Caps
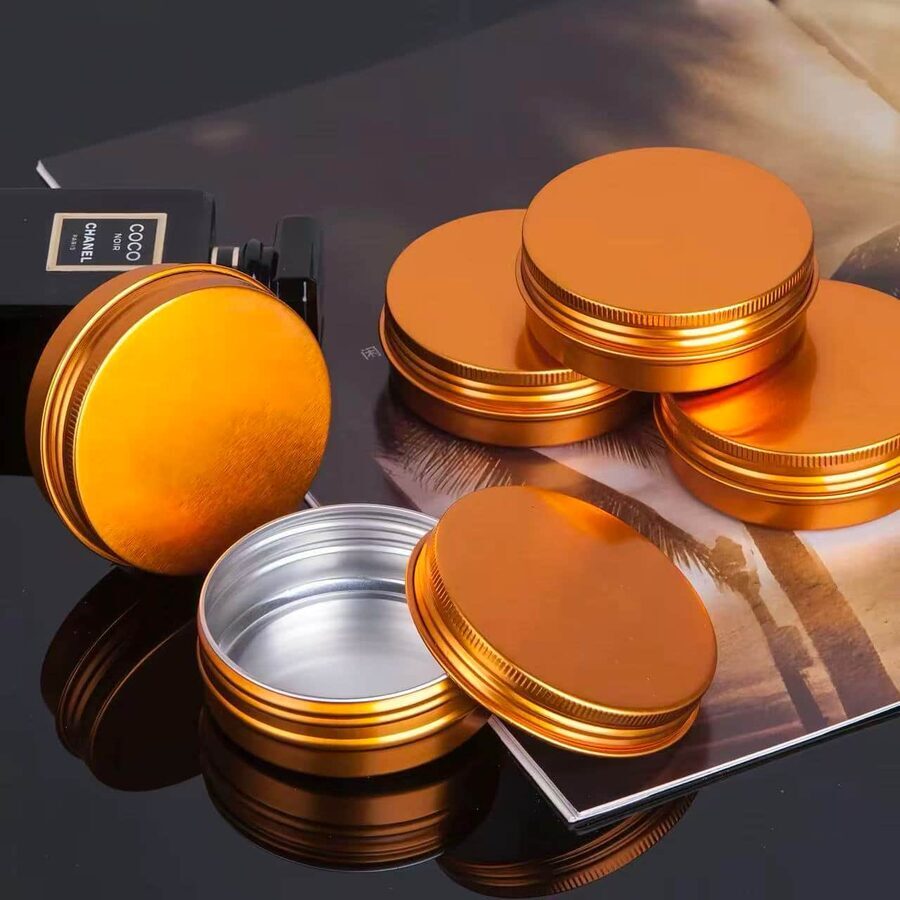
Aluminum caps are often anodized or painted to achieve a specific color or finish. But these finishes can corrode, especially if your product contains salts, acids, or if the cap is exposed to humid environments. Most buyers don’t test for corrosion resistance until it’s too late—when customers start complaining about pitting or discoloration.
Before you commit to a large order, conduct a salt-spray test (ASTM B117 or ISO 9227) on a sample cap. This test simulates years of exposure in a few days. Your supplier should be able to provide test results or you can send samples to an independent lab. Specify the required test duration (e.g., 24, 48, or 72 hours) and the acceptable result (no visible corrosion).
Also, consider the type of anodizing: sulfuric acid anodizing is common but less corrosion-resistant than hard anodizing. For caps that will be touched frequently, a clear coat over the anodize can add protection. Make sure your supplier knows the end use.
Mistake #5: Assuming Tooling Is Yours
Tooling for custom caps—the molds that form the cap—is a significant upfront cost. Many buyers assume that because they paid for it, they own it. But that’s not always the case. Some suppliers retain ownership of the tooling, which means if you switch suppliers, you have to pay for new tooling.
In your RFQ and purchase order, clearly state: “Tooling cost is $X, and tooling becomes the property of [Buyer] upon full payment.” Also, specify that the tooling will be maintained and stored by the supplier for a certain period (e.g., 5 years) and that you have the right to retrieve it. Get this in writing before you pay.
Also, clarify if the tooling fee is amortized into the unit price. Some suppliers offer to waive the tooling fee if you order a certain quantity, but then the tooling might still belong to them. Understand the trade-off.
How to Avoid These Mistakes in Your RFQ
To ensure a smooth process, your RFQ should include the following:
- Product details: What product will the cap contain? (liquid, cream, powder, etc.)
- Bottle neck finish: The exact finish (e.g., 18-410) or a GA drawing of the bottle.
- Cap dimensions: Diameter, height, and wall thickness (typically 0.3–0.5mm for aluminum caps).
- Liner specification: Material, thickness, and any special requirements (e.g., induction seal).
- Finish: Anodized, painted, or lacquered, with color code (e.g., Pantone) and gloss level.
- Testing requirements: Salt-spray test, drop test, etc., with pass/fail criteria.
- Tooling ownership: State your expectation clearly.
By being specific and asking the right questions, you can avoid the costly mistakes that many buyers make. Remember, the cheapest quote isn’t always the best if it leads to rework or a failed launch.
If you need help with a custom cap design, send us your bottle drawing and we’ll advise on the best approach.
Frequently asked questions
What is a neck finish and why does it matter for aluminum caps?
A neck finish is the threaded or snap-fit part of a bottle that the cap attaches to, designated by a code like 18-410. It matters because the cap's internal thread must match the bottle's neck finish for a secure fit. If they don't match, the cap won't seal properly or may cross-thread. Always provide the neck finish code or a GA drawing to your cap supplier.
How do I know if my cap needs an induction liner?
An induction liner provides a tamper-evident seal and is often used for products that need to prove they haven't been opened, such as serums or oral care products. If you require a tamper-evident seal, you'll need an induction liner and a filling line that can apply it. For non-tamper-evident applications, a foam or pulp liner is usually sufficient. Consider your product's viscosity and regulatory requirements.
What is a pre-production sample and why is it important?
A pre-production sample (PPS) is made from the actual production tooling, not a prototype. It ensures that the caps you receive in bulk will look and function like the sample you approved. It's important because hand-made samples can have different dimensions and finishes. Always request a PPS and check it thoroughly before mass production.
How long does a salt-spray test take and what does it cost?
A salt-spray test typically runs for 24, 48, or 72 hours, depending on the standard you choose. The cost varies by lab, but you can expect to pay a few hundred dollars per test. It's a small price compared to the cost of a batch failure. Ask your supplier if they have test data for similar finishes, or send samples to an independent lab.
Who owns the tooling if I pay for it?
Tooling ownership should be specified in your purchase order. Typically, if you pay a separate tooling fee, you own the tooling. However, some suppliers may amortize the tooling cost into the unit price and retain ownership. Always clarify this in writing before you pay. If you own the tooling, ensure you have the right to retrieve it if you change suppliers.